

Recall from the previous post: This project started with trying to deal with an ever increasing number of bounce back emails and has since concluded by migrating email provider solutions. As I mentioned in the previous post, it is very common in progressive sales situations to duplicate functionality and waste resources paying for extra, unnecessary services. So even though last time we got SPF set up appropriately so that the bounce backs would stop and my email would get delivered, I had two goals for my email solutions going forward.
- That DKIM be properly applied.
- That I would no longer be paying for an extra email service that I do not need, since it comes with my hosting plan.
These goals were of roughly equal priority and of course, could be addressed with the same solution: migrate to the hosted email tool I already have.
Here’s how I did it.
Step 0: Backups

Before you begin, you’ll want to sign in to your email account using a local mail client like Mozilla Thunderbird so that you can make a backup of all your email. You will also be changing your DNS configuration, so you will want to make a backup of these as well.
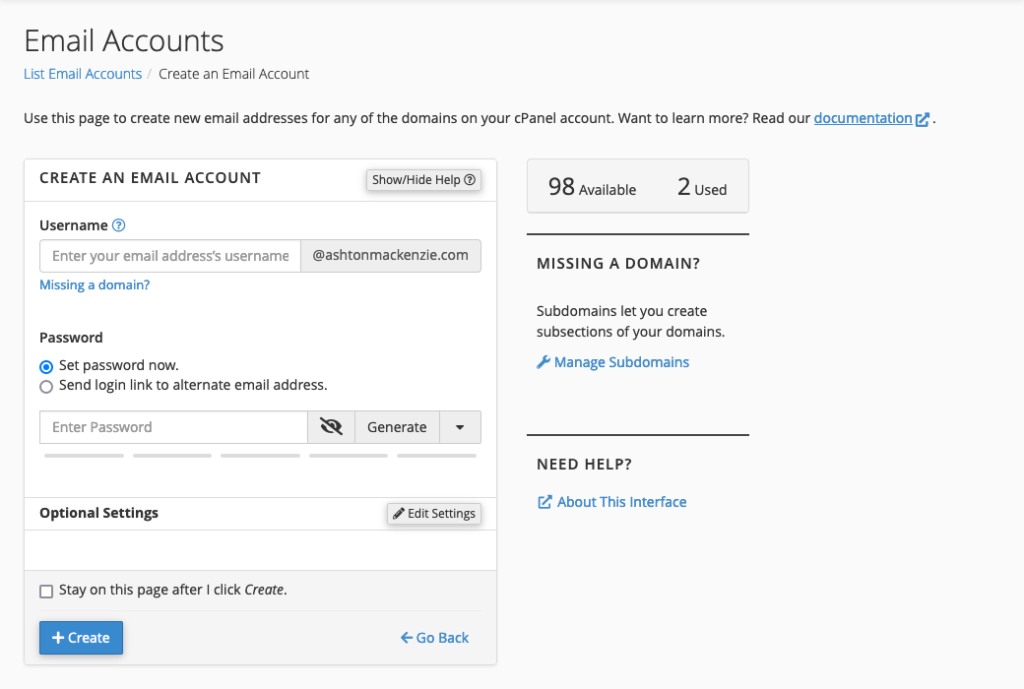
Step 1: Create Email Account In Hosted Email
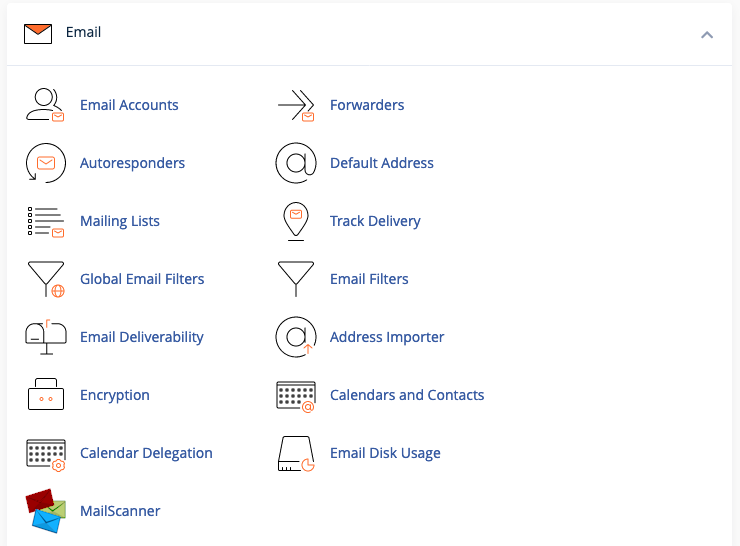
Next, create email accounts within cPanel to correspond with any email accounts you had standalone plans for. Since I only had the one, I only needed to create one, but I did create another one just for fun while I was here since it was so fast and easy.
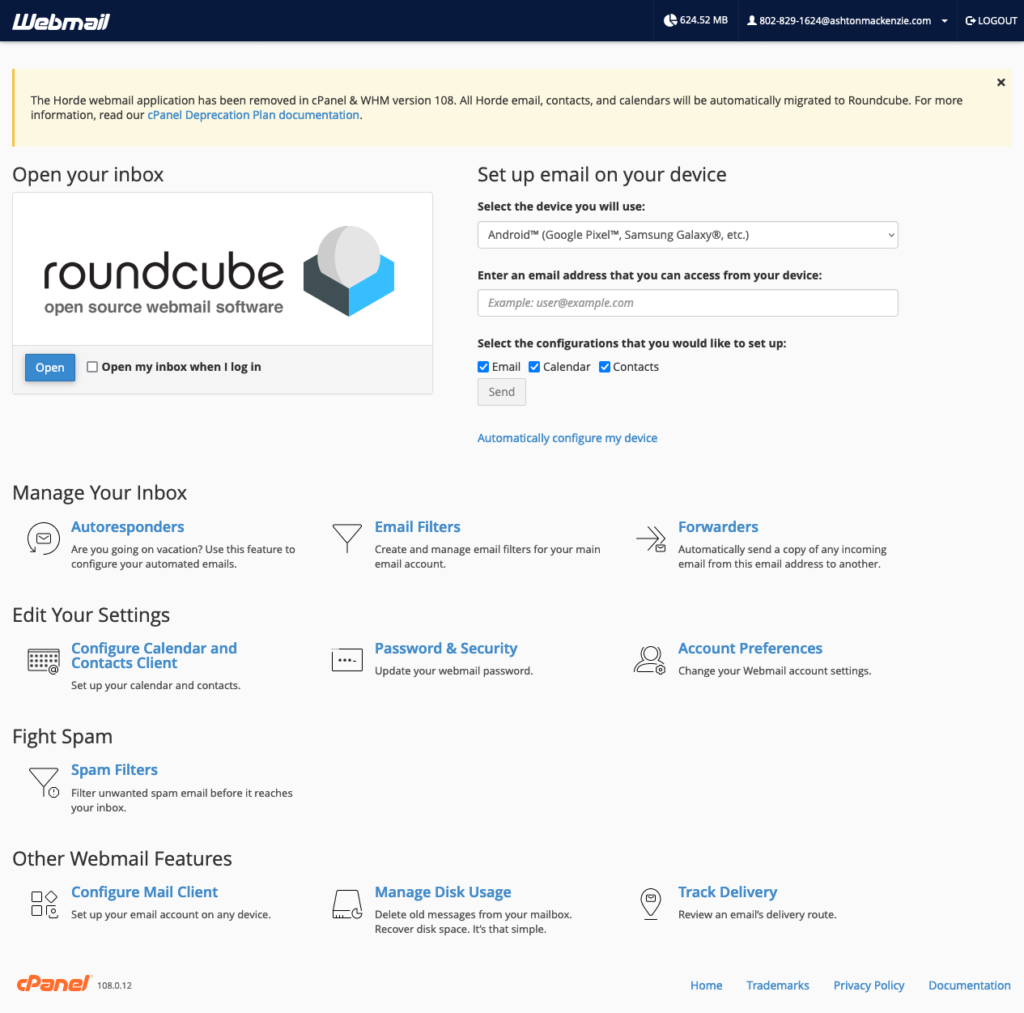
name.com’s documentation on this was surprisingly medium helpful here. I can only assume it’s because the button to take these actions is at eye level, doing everything short of blinking at you, when you log into name.com’s cPanel instance for your hosting plan. Remember to click “Email Accounts” in the “Mail” section to do pretty much everything going forward.
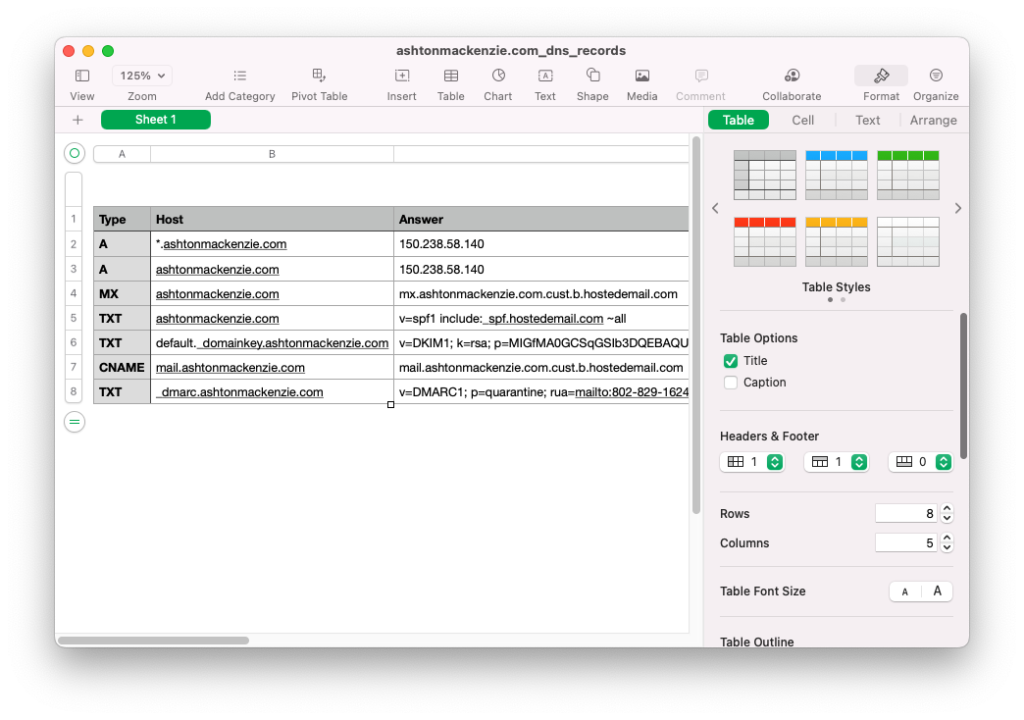
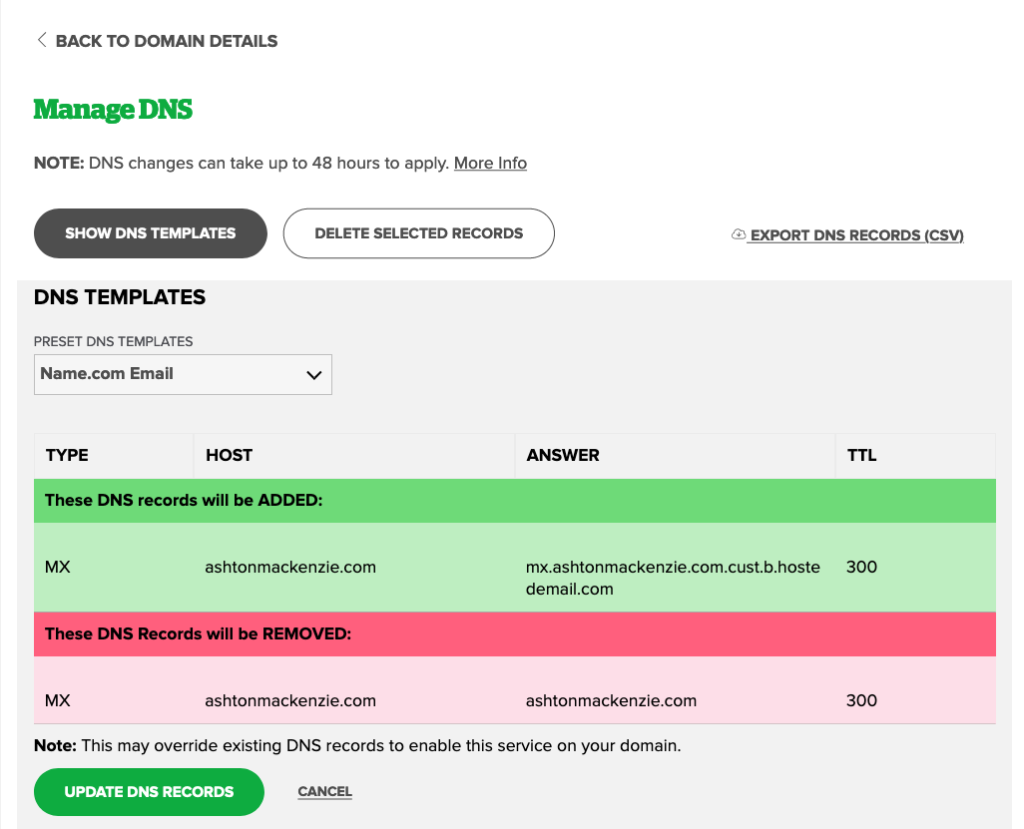
Step 2: Change MX Server in DNS
Next, you’ll need to tell incoming email that it needs to come to a different mail server than before. Instead of the *cust.b.hostedemail.com record that name.com’s standalone email uses, you’re actually going to be responding with your own domain as the correct mail server.
Step 3: Configure SPF and DKIM in DNS
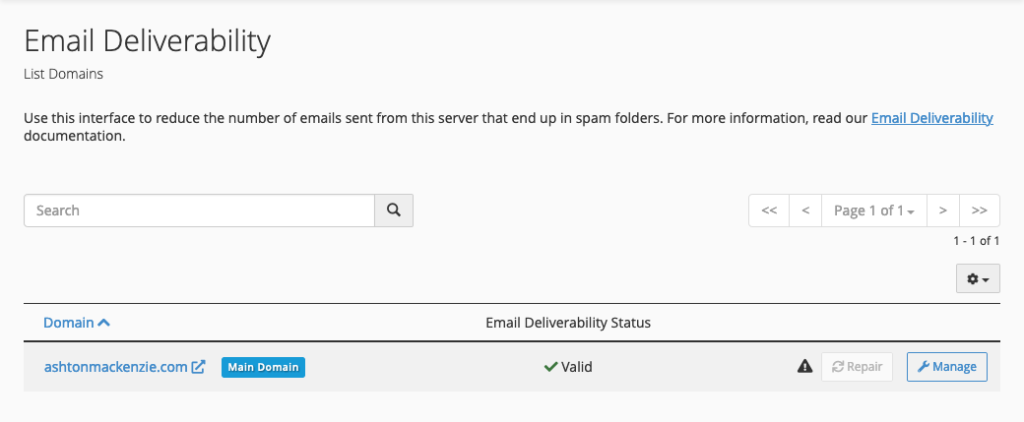
Finally, the documentation for configuring your SPF/DKIM on your own email is going to apply to you! This is now an extremely simple and straightforward process. In cPanel, there is a button labeled “Email Deliverability” that will run a quick DMARC check to see how SPF and DKIM are configured and let you know if anything needs to change. You can literally just go in here, copy the suggested record using the button provided, and paste that right into the DNS management console. The only thing easier would be if the “install record” button actually worked, but we can’t have everything.
Step 4: Change Connection Information in Thunderbird and restore email
Change the connection information in Thunderbird to match that of your ‘new’ email service.
You’ll see all your email empty out. Don’t panic, this is why we made a backup! Just use the Thunderbird Import Tool to bring in a copy of your old inbox.
Unfortunately, I didn’t see a lot of way out of this other than the manual way…
Since I only had one mailbox to migrate and not that many folders, I just recreated my folders and dragged all the email in my restored folder to my live folder and let the mail client sync things up. If I had more mailboxes to migrate, I would have been more tempted to spend time perusing Thunderbird’s extensions to see if there is a way of propagating email across configured accounts. It really didn’t take that long, I was done in about twenty minutes.
Step 5: The New Location for Email Filters and CalDAV
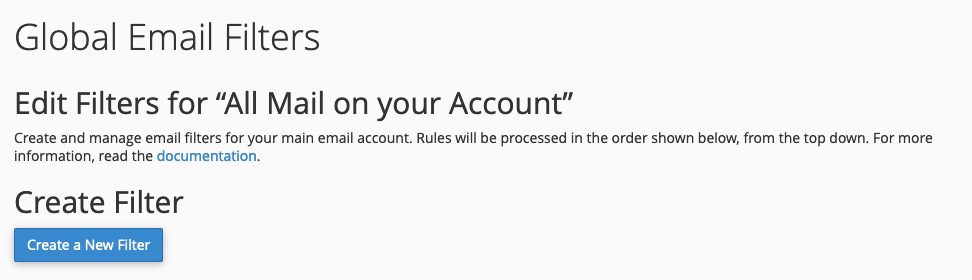
This is less of a step and more of a tip – you’ll need to set up your email filters again and instead of going through RoundCube’s preferences you’re actually going to get in through cPanel and configure filters either globally or per email account. Also you can find your email address book and calendar / task list connection info in cPanel now rather than buried in RoundCube preferences.
Step 6: Trust, but Verify
Send an email from an outside domain to your migrated account. Does it appear in the webmail client like you expect? If yes, you’ve done everything correctly. If not, go check the documentation and see what’s not working.
Once you’re done there, update the connection information on your phone and change your email bookmark in your browser. And finally … you’re all set! There’s no feeling quite like that which comes with closing an email administration ticket, especially when there was 0 downtime or impacted users.
Thank you for reading. Please let me know if there are any clarifications I can make or further questions I can answer either down in the comments, on LinkedIn, or hit me up on Mastodon.
One thought on “Migrating from Standalone Email to Hosted Email on Name.com | Troubleshooting SPF and DKIM (Part 2) ”
Comments are closed.